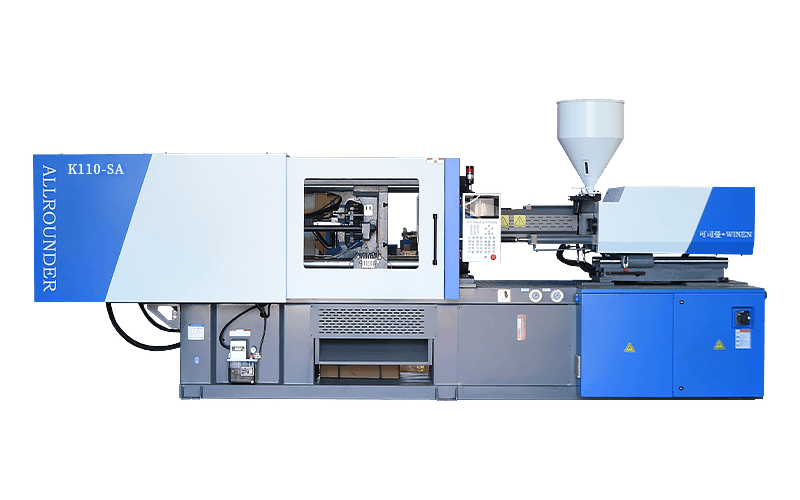
Operating a plastic injection molding machine is a complex task that requires a solid understanding of its components and an adherence to proper procedures. This guide aims to take you through the step-by-step process of operating a plastic injection molding machine to ensure efficient and accurate production of plastic products.
Step 1: Preparing the Machine
Before beginning the machine operation, it is crucial to perform a pre-startup inspection. This involves checking the machine for any signs of wear, ensuring all safety features are intact, and confirming that all necessary tools and materials are available. Additionally, it is important to double-check that the machine is properly lubricated to prevent any friction-related issues during operation.
Step 2: Loading the Plastic Material
Once the machine is prepped and ready, the next step is to load the plastic material into the hopper. Plastic pellets or granules are poured into the hopper, which feeds them into the barrel of the machine. It is important to select the appropriate material and ensure it is free from any contaminants that may affect the quality of the final product.
Step 3: Setting Up the Mold
After the plastic material is loaded, the mold for the desired product needs to be appropriately installed. This involves attaching the mold to the mold clamping unit of the machine securely. The mold should also be cleaned and inspected for any damages or debris that may hinder the injection molding process.
Step 4: Adjusting Machine Parameters
Once the mold is in place, it is crucial to set up the machine parameters correctly. This includes adjusting the temperature and pressure settings, as well as the injection speed and duration. These variables will vary depending on the type of plastic material being used and the specific requirements of the product being manufactured. Consulting the machine's manual or seeking guidance from experienced operators can help in determining the optimal settings for your specific project.
Step 5: Initiating Injection
With the settings in place, the injection molding process can begin. The plastic material is melted by the injection unit which typically consists of a large screw or plunger. The melted plastic is then injected into the mold cavity under high pressure. Care should be taken to ensure that the injection is consistent and properly controlled to prevent defects such as air pockets, short shots, or flow lines.
Step 6: Cooling and Ejection
After the plastic material is injected into the mold, it needs time to cool and solidify. Cooling systems within the mold aid in this process, but additional cooling may be required to expedite it if necessary. Once the plastic has sufficiently hardened, the mold opens, and the product is ejected from the machine. Proper ejection techniques, such as utilizing ejector pins or air ejection systems, need to be in place to remove the finished product without causing any damage.


 English
 中文简体
中文简体


